Jambin' Out October 13 2016
Jambs and seals are often overlooked, but I promise they'll be impossible to ignore when you're finished.
Here is your door, trunk, and hood jamb guide.
You will clean:
- Jambs
- Rubber seals and boots
- Threshold and sill trim
- Underside of the hood and trunk
- Hood and trunk shocks
- Plastic, rubber, and vinyl trim
Tools:
- Quick detailing spray, or car wash solution
- Bucket
- Kleanmitt, or a microfiber towel
- Detailing brushes, or a soft-bristled paint brush
- 303 Aerospace Protectant
- Sealant or wax
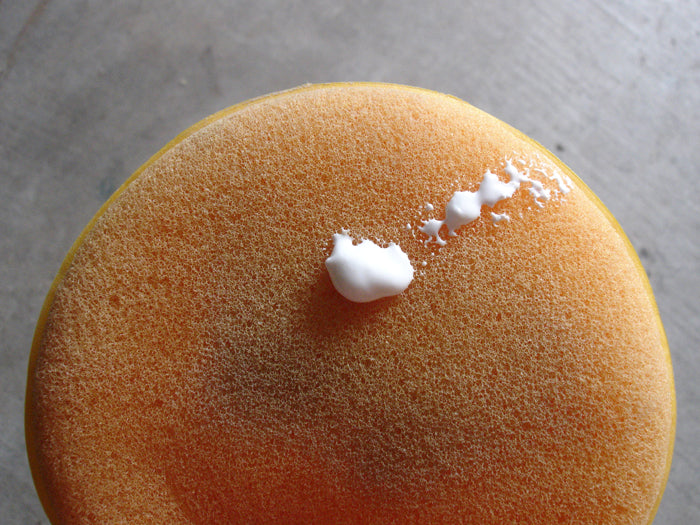
Step 1: Brush or Kleanmitt method: Dip your cleaning tool into the wash solution. Wring out excess moisture, so you don't drip water into the interior, and brush or wipe away the filth. Stubborn stains can be worked with the polymer side of the Kleanmitt.
Microfiber towel method: Spray or soak your microfiber towel with cleaning solution. wring out excess moisture. Spray the surface you're working on and wipe it with your towel to remove dirt. Flip to a clean section of the towel and repeat to reduce the likelihood of micromarring (fine scratches). Use a different towel when the one in hand is saturated with filth.
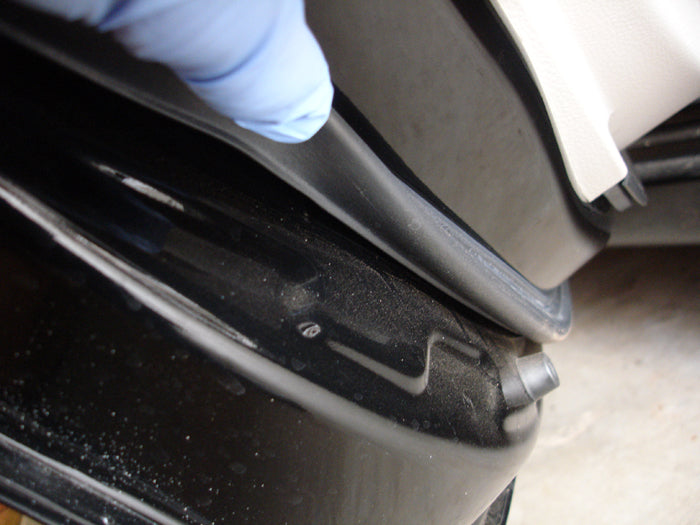
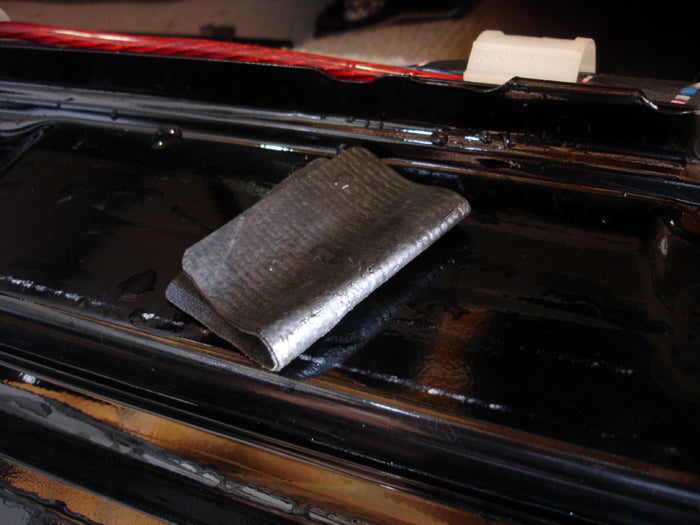
It wouldn't be called "detailing" if we weren't critical. It's time to get obsessive. If you haven't done it already, start your scavenger hunt for dirt by removing trim, tread plates and rubber seals if you can. If they're stuck to the car with adhesive, or too difficult to remove, gently pull the piece to the side to expose hidden areas, or wedge your cleaning tool in the gaps to mop up the mess.
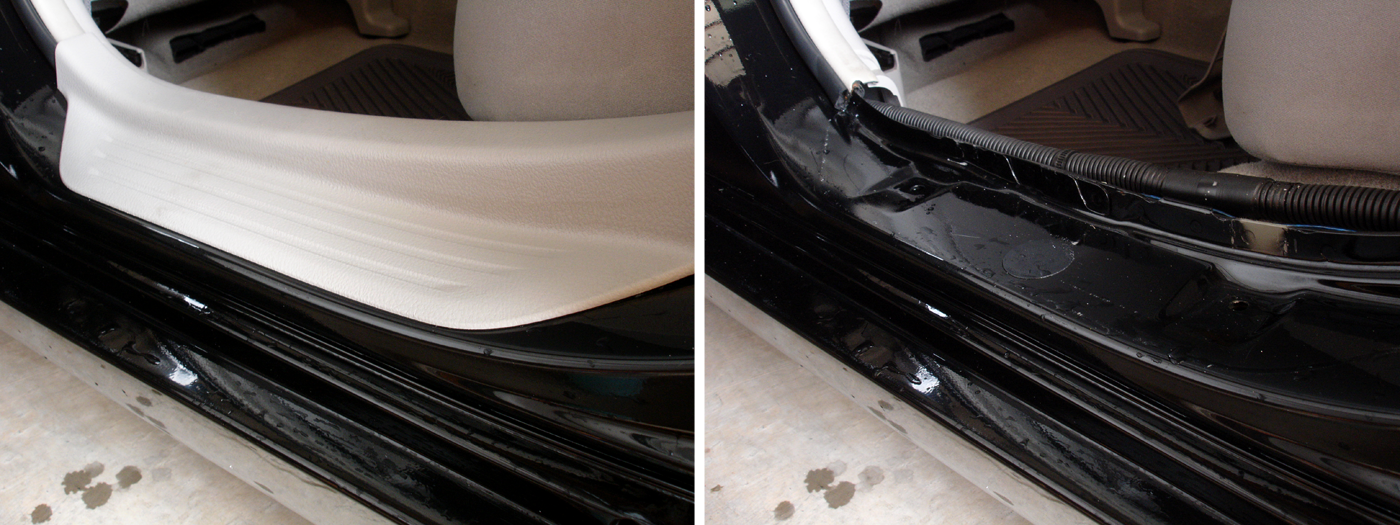

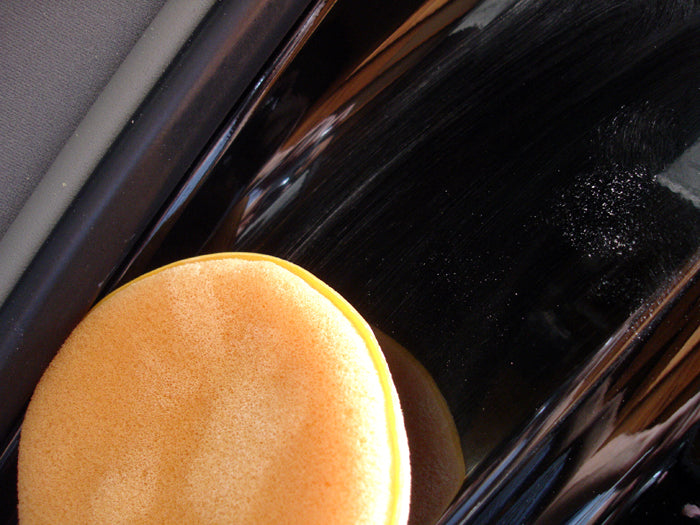
Bonus: If you plan on polishing the door jambs, now is a great time to clay the paint. For extra flexibility, we peeled the clay substrate from our pocket clay, which allowed us to fold it into corners and tight spaces.
Step 2: Dry the jambs. You can use a clean microfiber towel, an electric leaf blower, or compressed air. Whatever it takes to get the job done without damaging the paint.
Bonus: Polish painted areas by hand to remove fine scratches. You don't need much product to take care of this. Usually a dime to nickel-sized dollop of polish or cleaner wax will do.

Our inspection light shows clear reflections, no scratches, and paint that's ready to be sealed.
Step 3: Apply wax or sealant to any painted areas. If you're using a paste wax, avoid rubbing plastic, rubber, or vinyl trim to prevent chalky, white marks. Using K5 isn't only recommended, but preferred since it will do double-duty, protecting all treated surfaces from grime without leaving a white residue.
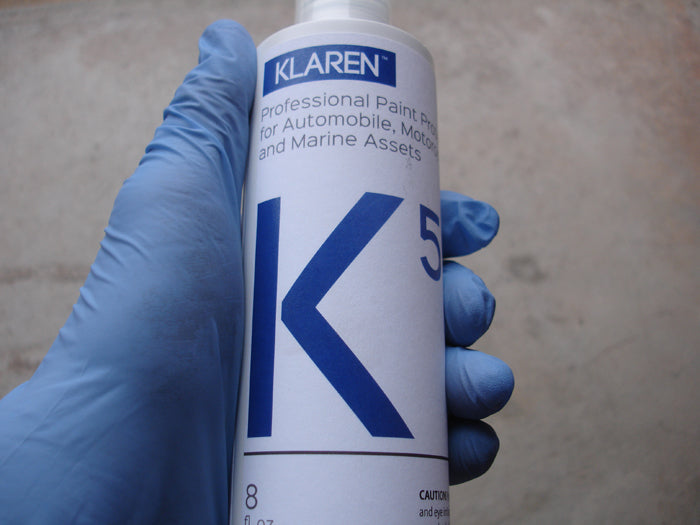
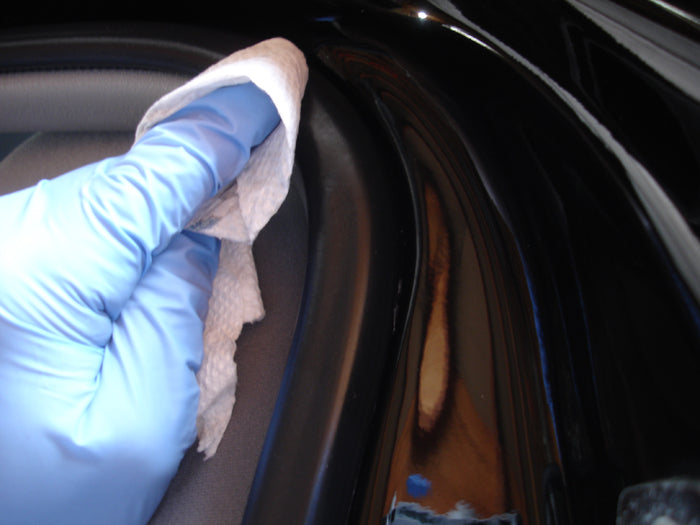
Carefully apply Klaren K5 or 303 Aerospace Protectant on plastic, vinyl, and rubber. With any spray product, spraying the applicator or towel instead of the surface will minimize over-spray. I prefer to use a foam applicator or microfiber towel, but I'm using a square of paper towel (on the rubber trim only) to illustrate a point: You can use what's available if it's safe. Be reasonable. Rubber won't scratch if I rub it with a paper towel. Paint will.
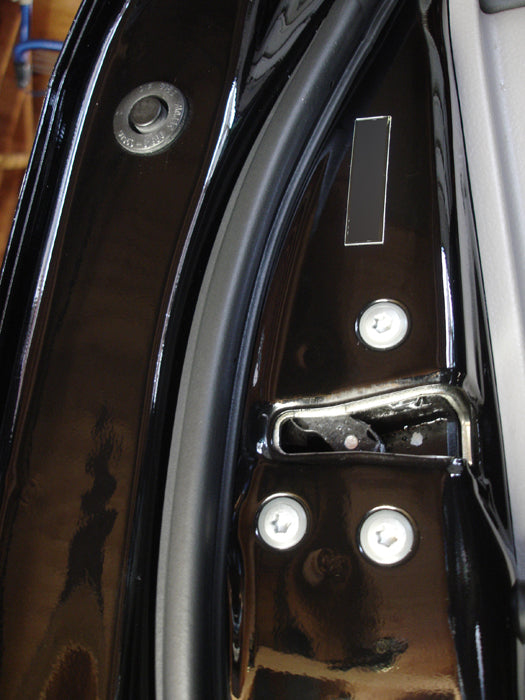
Voila! Step back. Did you miss a spot? Don't forget to put back anything you removed. That means no leftover screws or trim pieces on the garage floor when you're done! If not, you're good to go. Celebrate, and as always, have fun!